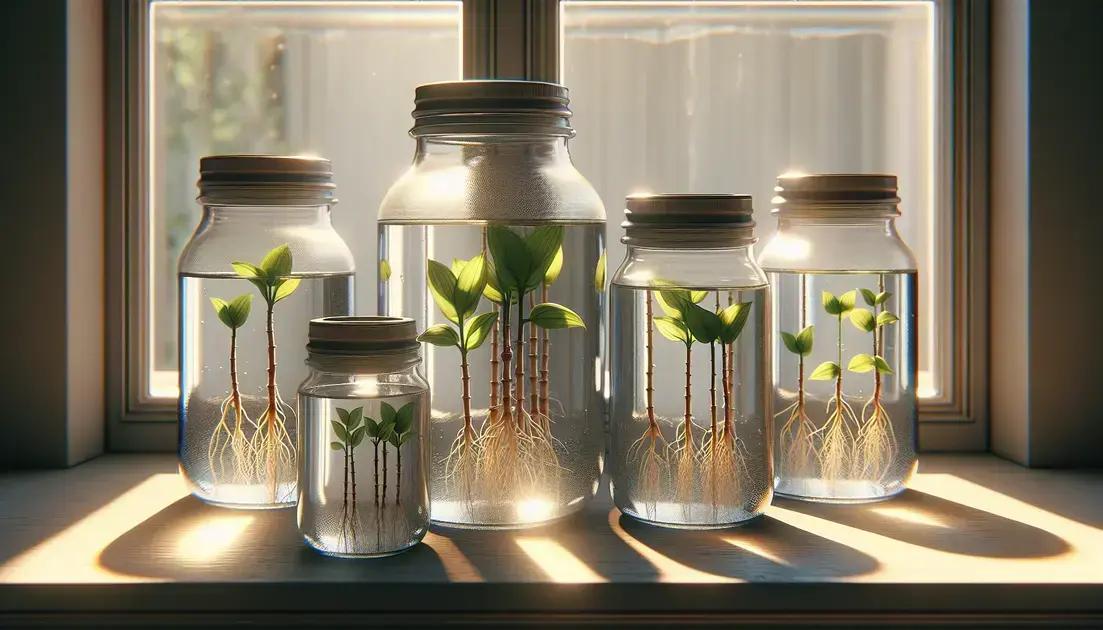
Rooting cuttings in water is an effective propagation method that involves placing healthy cuttings in clean water until they develop roots, which can then be transplanted into soil for further growth.
Rooting cuttings in water is a fascinating way to propagate your favorite plants. Have you thought about how easy it can be to create new greenery for your home? Let’s dive into the essentials of this rewarding method.
understanding the rooting process

Understanding the rooting process is crucial for successfully propagating plants. When you place cuttings into water, they begin a transformation. This involves the growth of roots, which will eventually allow them to thrive independently.
What Happens When You Root in Water?
Initially, your cuttings will start to develop small white tufts, known as root hairs. These root hairs are essential for nutrient and water absorption. They form as the plant senses the need to anchor itself and search for resources.
The Importance of Clean Water
Using clean, filtered water can significantly enhance the rooting process. Tap water often contains chlorine and chemicals that can inhibit root development. It’s best to use room temperature water, which can help your cuttings adjust more easily.
Choosing the Right Cuttings
For optimal results, select healthy stems from the parent plant. Look for cuttings that are around 4 to 6 inches in length, with at least two to three nodes. Nodes are the points on the stem where leaves emerge and where roots are likely to grow.
Light and Placement
Placement of your cuttings matters. They require plenty of indirect sunlight to encourage growth. Too much direct sunlight can damage them, while too little can slow down the rooting process.
Throughout this stage, be patient. Depending on the plant type, it may take a few weeks for roots to develop. Regularly change the water to keep it fresh and observe your cuttings as they thrive.
caring for your cuttings after rooting

Caring for your cuttings after rooting is essential to ensure they grow into healthy plants. Once your cuttings have developed roots, they need proper attention to thrive.
Transplanting Your Cuttings
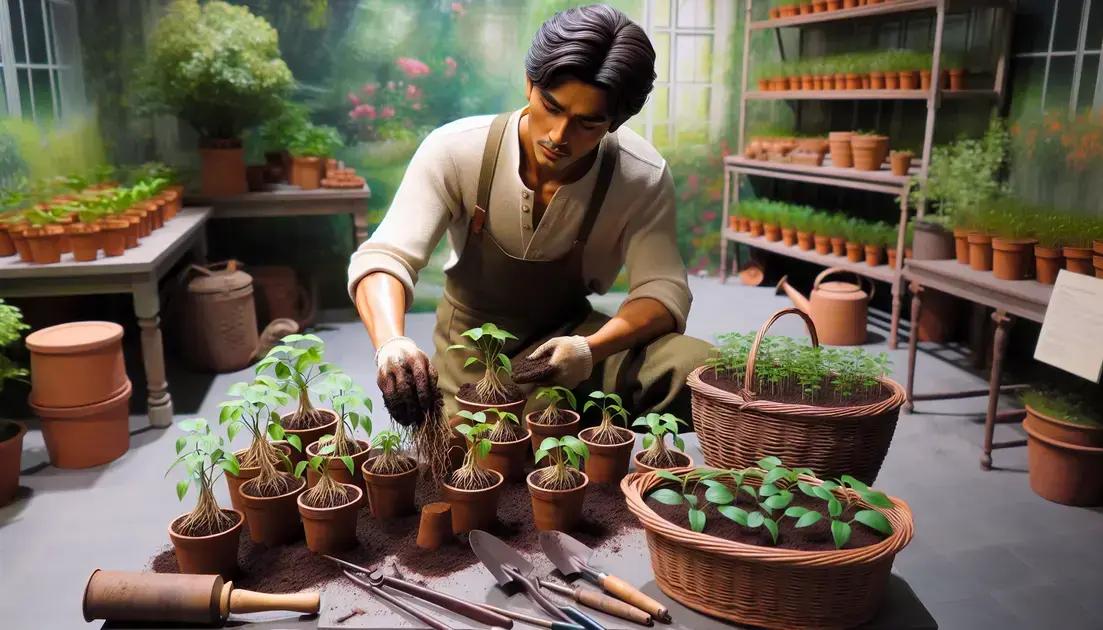
When you notice roots that are about 2 to 3 inches long, it’s time to transplant your cuttings into soil. Choose a well-draining potting mix that will keep moisture but not allow the roots to sit in water. Gently remove the cutting from the water, avoiding damage to the roots.
Watering and Humidity
After transplanting, water your cuttings thoroughly. It’s important to keep the soil moist but not soggy. You can increase humidity around the cuttings by covering them with a plastic bag or using a humidity dome. This can help them adjust to their new environment.
Light Requirements
Your cuttings will benefit from bright, indirect sunlight. Avoid placing them in direct sunlight, as this can scorch the leaves. A spot near a window with filtered light is ideal to encourage healthy growth.
Fertilizing Your Cuttings
Once your cuttings start to show new growth, it’s a good time to introduce a diluted, balanced fertilizer. Use it sparingly to avoid over-fertilization. Generally, once every four to six weeks is sufficient.
Pest and Disease Management
Keep an eye out for any signs of pests, such as aphids or spider mites. If you notice any, gently wash the leaves with water or use an insecticidal soap. Early detection is key to preventing more serious issues.
By following these care tips, your cuttings will have the best chance to grow into strong, beautiful plants that can thrive in your home or garden.
In Conclusion: Nurturing Your Plant Cuttings
Caring for your cuttings after rooting is essential for their growth. By transplanting them into suitable soil, providing the right amount of water and light, and keeping a watchful eye on pests, you set the stage for healthy plants.
Remember that patience is key; the right conditions will encourage your cuttings to flourish. Soon, you’ll enjoy the fruits of your labor as they grow into vibrant additions to your home or garden.
With these simple care techniques, you’ll be well on your way to a thriving collection of plants.
FAQ – Frequently Asked Questions about Caring for Your Plant Cuttings
How long does it take for cuttings to root in water?
Typically, cuttings can take anywhere from a few weeks to over a month to develop roots, depending on the plant species and environmental conditions.
What type of water is best for rooting cuttings?
It’s best to use clean, filtered water instead of tap water, as chemicals like chlorine can hinder root development.
How often should I change the water for my cuttings?
You should change the water every few days to keep it fresh and prevent bacterial growth.
When is the right time to transplant rooted cuttings into soil?
Transplant cuttings when their roots are about 2 to 3 inches long, ensuring they are ready to adapt to soil.
What kind of soil is best for my cuttings after rooting?
A well-draining potting mix is ideal, as it provides necessary nutrients and prevents overwatering.
How do I know if my cuttings are healthy?
Healthy cuttings show signs of growth and new leaves, whereas wilting or yellowing leaves may indicate stress or poor conditions.
