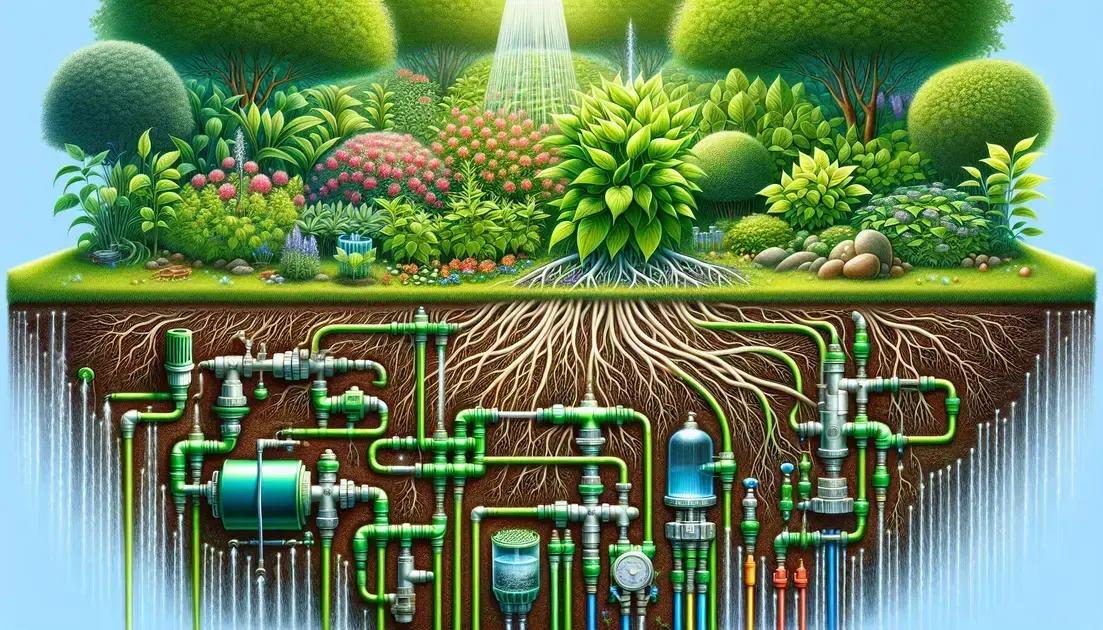
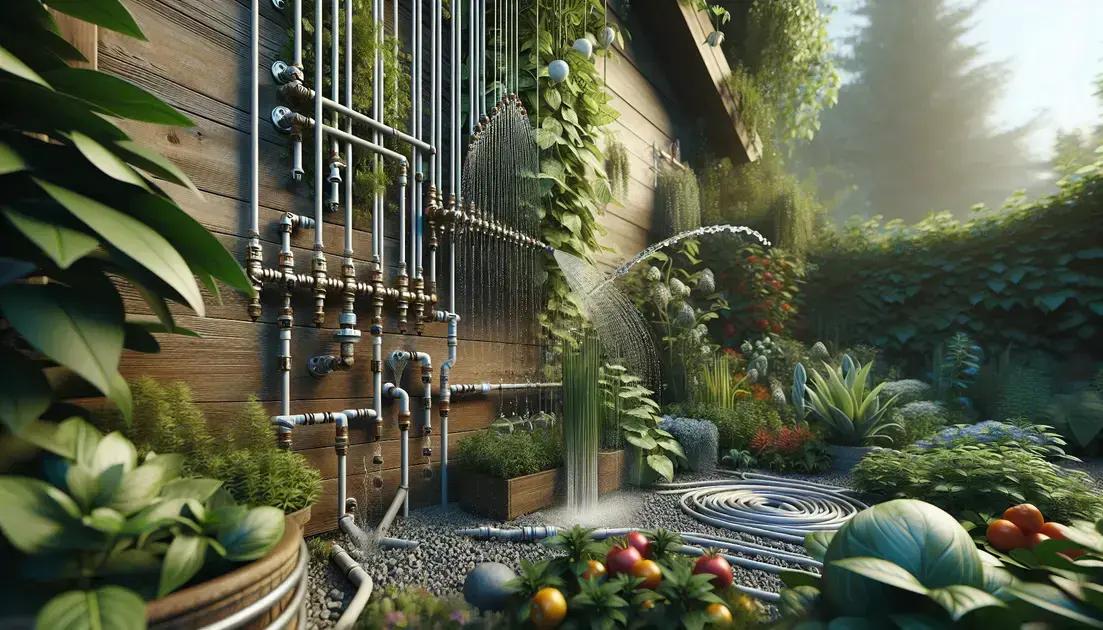
DIY drip irrigation systems efficiently deliver water directly to plant roots, conserving water and promoting healthy growth while being easy to install with basic materials.
DIY drip irrigation can revolutionize how you maintain your garden. Have you ever wondered how to keep your plants hydrated without wasting water? Let’s explore simple ways to set up an efficient system that nourishes your garden.
Understanding the benefits of drip irrigation

Drip irrigation offers several benefits that make it an effective choice for gardeners and farmers alike. One of the most significant advantages is water conservation. By delivering water directly to the root zone of plants, drip systems minimize evaporation and runoff, allowing for efficient use of water.
Improved Plant Health
Another key benefit is the improvement in plant health. With consistent moisture, plants can grow stronger and healthier. This system reduces the risk of diseases caused by excess moisture on leaves and stems.
Cost-Effectiveness
Drip irrigation can also be cost-effective in the long run. Although there may be an initial investment in the system, the reduction in water usage and improved crop yield can lead to significant savings over time.
Flexibility and Scalability
This type of irrigation is also flexible. It can be used in various garden sizes and landscapes. Whether you have a small backyard garden or a larger agricultural field, a drip irrigation system can be tailored to meet your needs.
By understanding these benefits, you can make an informed decision about implementing a drip irrigation system in your garden. Consider how it can improve your gardening experience while being mindful of resources.
Step-by-step guide to creating your own drip irrigation system

Creating your own drip irrigation system can be a rewarding project that benefits your garden. Here’s a simple, step-by-step guide to help you get started.
Step 1: Gather Your Materials
To build your system, you will need drip tubing, emitters, a filter, a pressure regulator, and connectors. You may also want to use stakes to hold the tubing in place.
Step 2: Plan Your Layout
Before installing, sketch out your garden layout. Identify where each plant is located and determine the best route for the tubing. This step is crucial for ensuring that every plant gets the right amount of water.
Step 3: Install the Main Tubing
Lay the main tubing along the designated routes in your garden. Make sure to cut it to the appropriate lengths with a tubing cutter. Use connectors to attach different sections together as needed.
Step 4: Add Emitters
Attach emitters to the tubing at intervals that correspond with the placement of your plants. Emitters can be added by simply punching holes in the tubing and inserting them. Ensure that each plant has access to water by placing emitters directly at their base.
Step 5: Install the Filter and Regulators
Connect the filter and pressure regulator to your water source. This setup is essential because it prevents debris from clogging the emitters and maintains optimal pressure for efficient watering.
Step 6: Test Your System
Once everything is connected, turn on the water and observe your system. Check for leaks and ensure all emitters are functioning properly. Adjust as needed for even water distribution.
By following these steps, you can successfully create a drip irrigation system that keeps your plants healthy and conserves water.
In summary, the value of a DIY drip irrigation system
A DIY drip irrigation system is a practical and efficient way to keep your garden healthy. By conserving water and delivering it directly to the plant roots, you can promote strong growth and reduce water waste.
Setting up the system may seem challenging at first, but by following the steps outlined, you can enjoy the benefits of consistent watering without the hassle.
Investing your time in creating a drip irrigation system not only helps your plants thrive but also contributes to environmental conservation. Embrace this simple yet effective gardening solution!
FAQ – Frequently Asked Questions about DIY Drip Irrigation
What is drip irrigation?
Drip irrigation is a watering system that delivers water directly to the roots of plants, conserving water and promoting plant health.
What materials do I need to create a drip irrigation system?
You’ll need drip tubing, emitters, a filter, a pressure regulator, connectors, and stakes to set up your system.
How can drip irrigation help save water?
By providing water directly to the roots, drip irrigation minimizes evaporation and runoff, making it more water-efficient than traditional methods.
Is it difficult to set up a DIY drip irrigation system?
Not at all! Following a clear step-by-step guide makes it straightforward, even for beginners.
Can drip irrigation be used in raised beds or containers?
Yes, drip irrigation is versatile and can be adapted to work effectively in raised beds, containers, and various garden layouts.
How often should I water my plants using a drip irrigation system?
Watering frequency depends on your plant types and local climate, but generally, it’s best to water small amounts frequently rather than large amounts infrequently.
