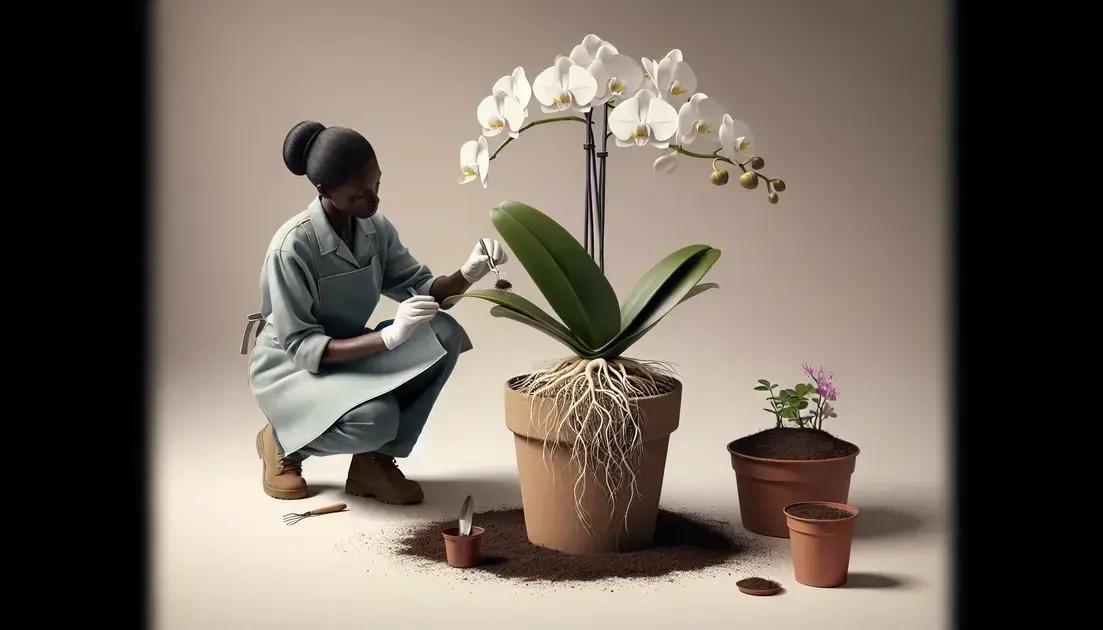
Orchid repotting is essential for healthy growth; it should be done in spring, using fresh potting mix and following a step-by-step process to ensure the plant thrives.
Orchid repotting is vital for ensuring these beautiful plants continue to thrive. Have you noticed your orchids not blooming as much? It could be time for a change. Let’s explore how proper repotting can make all the difference.
Choosing the right time to repot your orchids

Choosing the right time to repot your orchids is crucial for their health and blooming potential. The best time to repot is during the spring, when the orchid is naturally entering its growth phase. During this season, your orchid will be more resilient and adaptable to the changes.
Signs that it’s time to repot
Look out for specific indicators that suggest your orchid needs repotting. If you notice roots growing out of the drainage holes or if the potting medium appears to be breaking down and retaining too much moisture, these are signs that repotting is necessary. Additionally, if the plant seems to be top-heavy or is growing less vigorously, it might be time for a new pot.
Another key sign is when the potting medium starts to look decomposed or has a sour smell, indicating poor air circulation. Pay attention to these details to ensure that your orchids remain healthy and vibrant.
Step-by-step guide to repotting orchids

Repotting orchids can seem intimidating, but with a step-by-step guide, you can do it successfully. Begin by gathering your materials: a new pot with drainage holes, fresh orchid potting mix, and sterilized tools like scissors or shears.
Step 1: Prepare the new pot
Make sure your new pot is clean and ready. Place a layer of fresh potting mix at the bottom to provide a base for the roots. This layer helps with drainage and aeration.
Step 2: Remove the orchid from its old pot
Gently take the orchid out of its old pot. You may need to lightly squeeze the pot to loosen the roots. Be careful not to damage any roots in the process.
Step 3: Trim damaged roots
Inspect the roots carefully. Cut away any dead or damaged roots with sterilized scissors. Healthy roots should be firm and green or white. Removing unhealthy roots will promote better growth.
Step 4: Place the orchid in the new pot
Set the orchid in the center of the new pot on top of the fresh potting mix. Ensure the roots spread out naturally, avoiding any crowding.
Step 5: Add fresh potting mix
Carefully fill in around the roots with more potting mix, pressing lightly to eliminate air pockets. Be cautious not to bury the crown of the plant, as it can lead to rot.
Step 6: Water the orchid
After repotting, water the plant thoroughly. This helps settle the potting mix around the roots. Allow excess water to drain out completely.
Step 7: Find the right location
Lastly, place your repotted orchid in a spot with indirect sunlight and optimal temperatures. Keeping the orchid comfortable will aid its recovery from repotting.
In summary, caring for your orchids is essential
Orchid repotting is a key part of keeping your plants healthy and blooming beautifully. By knowing the right time to repot and following the steps outlined, you can ensure your orchids thrive.
Always pay attention to signs that indicate it’s time for a change, and don’t hesitate to provide them with fresh potting materials. With proper care and attention, your orchids can flourish and bring vibrant colors to your space.
So, embrace the process and enjoy watching your orchids grow in their new environment.
FAQ – Frequently Asked Questions about Orchid Repotting
What is the best time to repot my orchids?
The best time to repot orchids is during the spring, as they are entering their growth phase and can adapt better.
How do I know if my orchid needs repotting?
Signs include roots growing out of the drainage holes, a decomposed potting medium, or if the plant appears top-heavy.
What materials do I need for repotting orchids?
You will need a new pot with drainage holes, fresh orchid potting mix, and sterilized scissors or shears.
Should I water my orchid immediately after repotting?
Yes, watering right after repotting helps settle the potting mix around the roots and provides moisture they need.
Can I use regular potting soil for orchids?
No, orchids require a special potting mix that allows for good drainage and airflow to their roots.
How should I care for my orchid after repotting?
Place your orchid in a spot with indirect sunlight and optimal temperatures to help it recover from the stress of repotting.
